Last week, I did a post on how to make your iPhone app using a service call Bloapp. While Bloapp is a cool service for getting your blog on the iPhone, it doesn’t create a native iPhone app. Instead, it adds your blog to the Bloapp app. While this may be good enough for some bloggers, I imagine most would rather have their own native app. Well, if you happen to have a little money to spend, you can have your own native iPhone app for your blog thanks to a service call AppMakr.
I actually spent only $50 to create my iPhone app. I had a $149 coupon at the time. The coupon no longer works but $199 is still a lot less expensive than going the traditional route. Here’s the easy ten steps as explained by Mr. Gary Lee, my iPhone developer.
1) Go to AppMakr.com and register for an account – no affiliate link or anything. I’m not making a dime off this and neither is John (yes, he resisted, but it’s for the betterment of the blogosphere!)
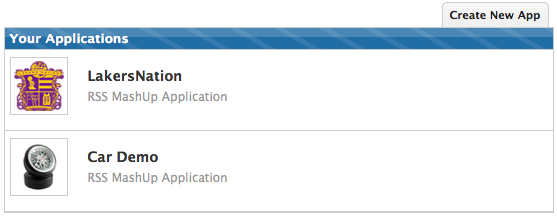
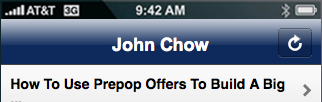
2) Once you’ve created an account and logged in, you’ll be directed to your App Manager Page. To get started, you’ll want to press the “Create an App” Tab on the upper left as seen below:
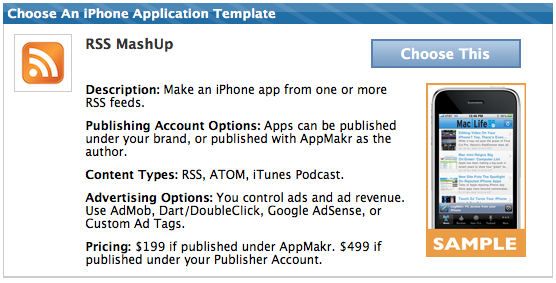
3) Choose which iPhone App template you’d like to use – Since they are new, you only have one option, so press “Choose This”
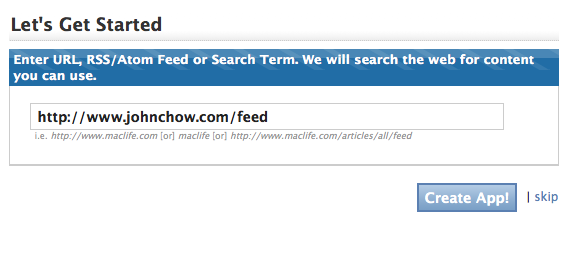
4) Submit your RSS Feed of your Blog as I show you below. If you’re using wordpress, you’ll find that adding “/feed” to the end of your category URLs is going to come in very handy.
5) Now, we’re getting into the main graphics of the app. If you have any custom logos, you should get them ready. Here’s what you’re going to need:
- 512 x 512 pixel Logo – This will be the “button” on the iPhone Menu.
- 320 x 480 pixel Splash Screen – This is the loading screen which is the first graphic your app will load.
6) Creating Buttons that represent different feeds to different parts of your site. Remember when I told you that “/feed” comes in handy, well, this is where they come in. These are the feeds that I will be submitting for John’s site by pressing the “+ Add RSS/Atom Feed URL”:

- Blogging – https://johnchow.com/category/blogging/feed
- Fine Dining – https://johnchow.com/category/fine-dining/feed
- Technology – https://johnchow.com/category/technology/feed
- Cars – https://johnchow.com/category/cars/feed
- Investing – https://johnchow.com/category/investing/feed
- The Net – https://johnchow.com/category/the-net/feed
- Dot Come Lifestyle – https://johnchow.com/category/dot-com-lifestyle/feed
- Make Money Online – https://johnchow.com/category/make-money-from-a-blog/feed
- Trade Show – https://johnchow.com/category/trade-show/feed
- Featured – https://johnchow.com/category/featured/feed
- Ramblings – https://johnchow.com/category/uncategorized/feed
- Videos – https://johnchow.com/category/videos/feed
- Featured Video – https://johnchow.com/category/featured-video/feed
- Reviews – https://johnchow.com/category/reviews/feed
- WordPress – https://johnchow.com/category/wordpress/feed
After submitting each feed, make sure to press the “Validate” link to make sure your feeds work.
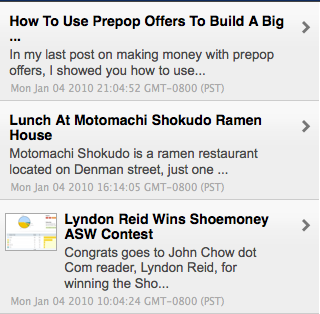
This is what it looks like:
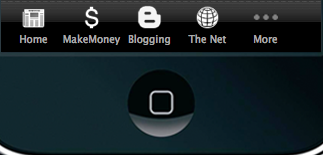
Now you may think these are a crapload of categories aka buttons to put into the app, but there is a more button users can press on their iPhones and if they would like to rearrange the buttons on the bottom, it’s as simple as drag and dropping.
7) This is the final customization part of the look and feel of the app, so this is what you’re going to need here:
- 320 x 46 pixel Header Image – This is located at the top of the app at all times.
- Color Codes for Fonts – Linked and Regular – I would suggest similar color scheme to your current blog.

Controls
And this

Controls
8) Monetizing your iPhone App. To get started, you’ll need to select one of these Mobile Ad Platforms. For Google’s Sake, we’re picking AdMob – Sign up with them and get your publisher ID to put here:
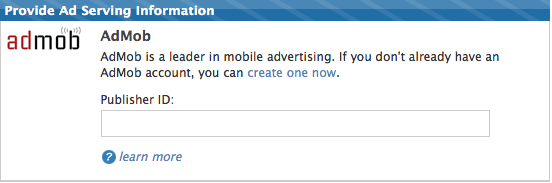
John has decided to make his first iPhone app Ad free, so you won’t be seeing this implemented.
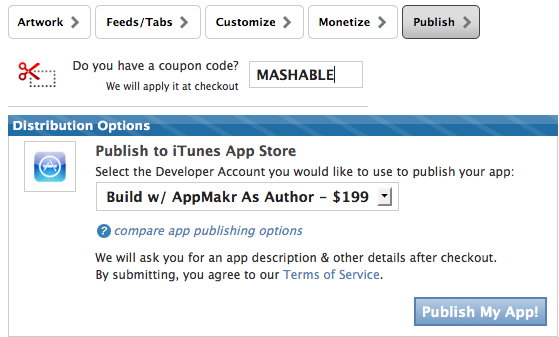
9) Publish your App. The “Mashable” coupon expired a while ago. I’m not sure if it still works but feel free to try it.
10) Once you have paid for the iPhone App, you’ll be asked to submit details for your App, so that it is listed properly in the iTunes store. Submission and approval takes about 2-4 weeks even though AppMakr is claiming 1-2 week turnaround. I guess your mileage may vary.